Did you know that the legal window tint in the USA varies from state to state? In some states like California, it’s as high as 70 percent, while in others, such as New Mexico, you’re only allowed 20 percent!
But that’s only one part you have to get right before buying your window tint. And what if you want to apply it yourself rather than use a professional service?
If you’re asking yourself how to tint your car windows, then keep reading. Because here are our ten tips for the best DIY auto window tinting.
1. Get the Right Tint For Your Car
The first thing that you need to consider is what type of car you drive and whether it’s a convertible or not. As mentioned above, knowing how much to tint windows is vital to avoid any legal comebacks. And, make sure you use a reputable dealer like exoticwindowtint.com, so you know you’re getting the best quality.
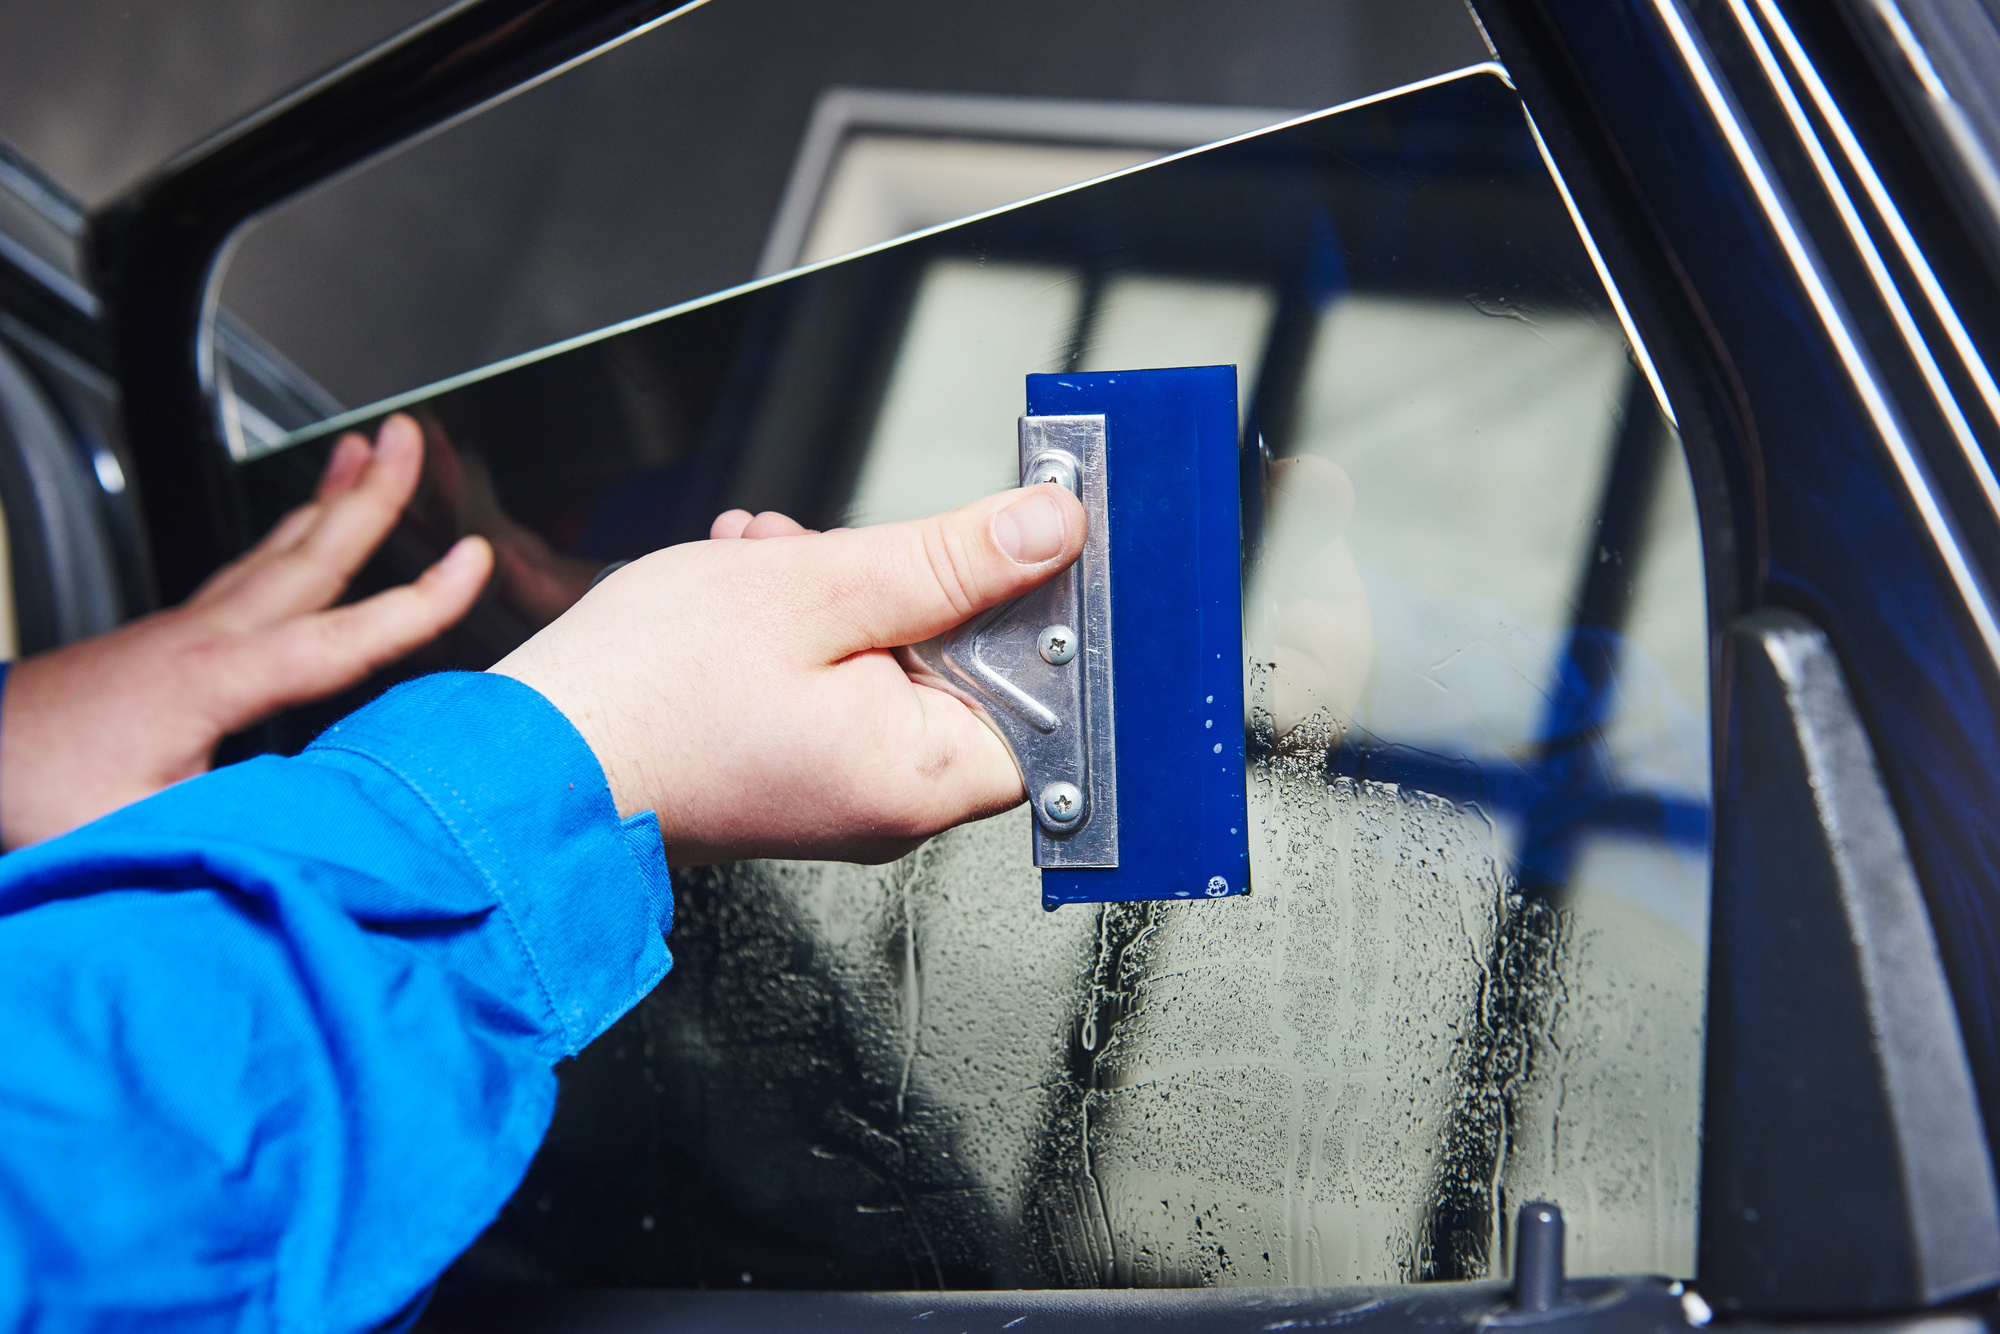
2. Have the Right Equipment to Hand
You’ll also need to ensure that you’ve got all the equipment needed to apply film to your windows. These include:
- A squeegee to remove excess liquid before applying the film
- An applicator brush to spread out the film over the glass
- A Lint-Free Cloth to clean up any stray drops after application
- A Heat Gun to help get rid of any air bubbles in the application process
Make sure you have all these to hand when doing your window tint DIY. That way, you won’t waste any film getting dust on it while you try and find your application brush.
3. Watch How-To Videos First
Once you know exactly how much film you need, watch videos online. These were showing you step by step how to apply it in the right way. You should be able to find plenty of these with a quick search using YouTube.
Once you know how easy it is to apply the film yourself, you won’t feel intimidated about doing it yourself!
4. Be Generous When Spraying
It’s better to use too much spray than not enough. If you don’t use enough spray, you may end up getting streaks across the surface of your windows.
It’s always worth spraying more than you think you might need. Because once applied, the film doesn’t stick very well at all. So if you start off thinking you only need one coat, try two coats instead.
5. Don’t Tint Too Much at Once
When trying to achieve the perfect look, remember that you shouldn’t do too much at once. Instead, take small sections of the film. Then, work them into each other until they blend with ease.
Start with smaller areas that aren’t as visible. Then, as you get used to applying the film, it becomes much easier to do larger parts.
6. Apply in Good Lighting Conditions
Applying window tinting isn’t something that you should attempt during poor weather conditions. These elements could affect the quality of the finished product. Thus, it’s advisable to wait until good weather has returned before starting the job.
Also, if possible, choose a day where the temperature outside is around 20 degrees Celsius. That means that the film will dry faster and thus give you less chance of cracking.
7. Apply in a Dust-Free Area
For most, it’s best to apply indoors, such as in a garage. But if you have no choice but to apply outdoors, make sure that you keep everything dust-free.
Use a vacuum cleaner to suck up any loose particles and wipe down surfaces like shelves and tables.
Make sure that you wear protective clothing when working near outlets. And finally, ensure that you have adequate ventilation while you’re working indoors.
8. Mind the Gaps
Don’t forget you’ll need to leave gaps around sliding windows! The reason why this is necessary is because of the door seals. If you put the tint to the top, the chances are that when you put the window back up, the tint peels away.
Also, the film can expand due to changes in temperatures. As a result, there needs to be some space between the edges of the film and the frame itself. Otherwise, the film will peel away from the glass.
9. Use Tape as Your Third Hand
Don’t be afraid to use tape to hold the film in place while applying it to the area. Although it sounds strange, it works well. Make sure that you remove the backing first.
Afterward, press the adhesive side against the window and then pull it straight out again. That ensures that the film sticks without leaving any residue behind.
10. Wait 24 Hours Before Driving Away
After you’ve completed the application process, leave the film to cure. Leaving the film helps reduce the chances of damage in the process.
Yet, if you want to drive home immediately after finishing the project, go ahead. You need to make sure that you check the vehicle afterward. Any scratches left by the car wash machine will show through the film.
That said, even though you won’t see these marks right away, they will become noticeable over time.
Window Tint Adds Value
Whether you aim to protect your paintwork or tint your windows for privacy, doing window tinting yourself is a great way to save money while adding value. And, at the same time, you can feel more rewarded for completing the modification yourself.
It doesn’t matter whether you decide on an OEM option or opt for a DIY approach. Either way, you can get the same results with minimal effort.
So why wait any longer? Get started today!
Keep reading for more top-quality content!