Yikes! Is the headlight on your car out? How long are headlights supposed to last?
Do you need to replace a headlight? Are you asking around for the best place to take your car?
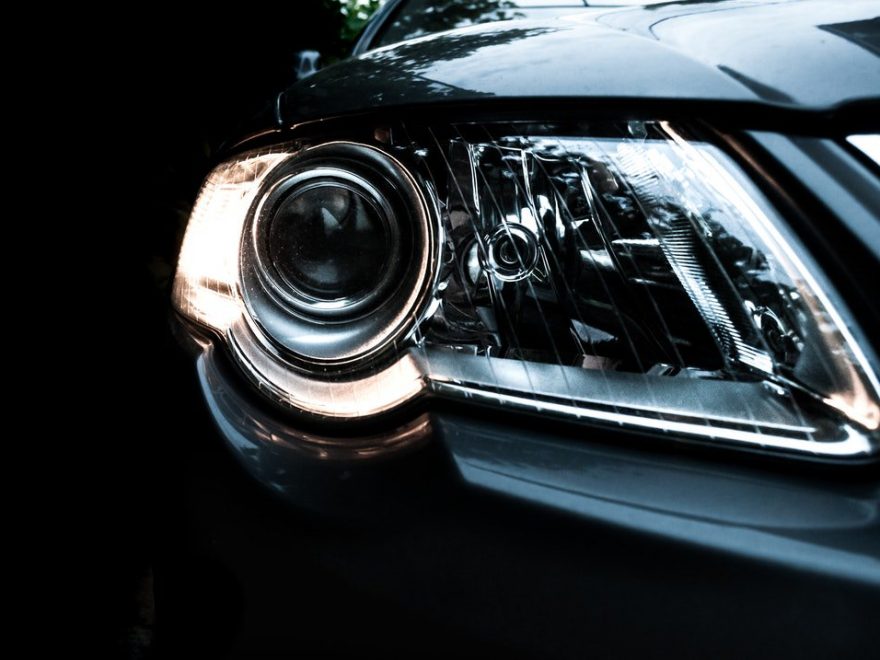
Are you wondering in the back of your mind how to change a headlight yourself? Changing a headlight doesn’t have to be a big deal. You don’t need to be without your car for a day just to fix a headlight.
Don’t pay to get your headlights replaced—You can do it yourself right in your own driveway. Believe it or not, you’ll spend less than 5 minutes replacing a headlight bulb.
Steps to Replacing a Headlight Bulb
Even if you do not consider yourself to be a DIYer, changing a headlight is a job you can tackle. If you plan to keep your car a while, this is a skill you’ll want to master. It will save you both time and money.
First Things First
You first need to determine the type of headlights that you have in your vehicle. Older vehicles may have headlight bulbs that are in a sealed unit. This unit will contain the lighting filament, reflector, and lens. Newer automobiles have bulbs that twist out for easy replacement.
Your owner’s manual will be able to tell you which type of bulb your vehicle has.
Sealed Unit Replacement
1. Open the hood of the car and determine how to access the sealed headlight unit.
2. Remove the casing around the unit being careful not to remove the screws that allow headlight adjustments.
3. Take out the headlight and pull off the wiring socket. The wiring socket will be at the back of the headlight kit.
4. Now take the new headlight assembly and plug the wiring into it. Put it into the bracket and replace the screws. Follow with the casing.
5. Turn on lights to make sure they work. Check alignment as well.
Removable Bulb Replacement
1. Pop the hood and locate the headlight assembly.
2. Remove the shield that is protecting the bulb. Turn the part that holds the light bulb.
3. Hold the bulb housing and pull out the bulb gently so you do not break it. In some cases, you’ll have to twist and pull to get the bulb out.
4. Before installing the replacement bulb, clean it with some rubbing alcohol. It is now ready and you can place it in the harness.
5. Test the headlights to see that they are working.
General tips:
Check the owner’s manual for guidance before you begin.
Wear gloves to prevent oils from your skin from getting on the new bulb.
Always check the alignment on the headlights to ensure that they are shining on the road.
Regularly check that your headlights are working fine before going out at night.
You Can Do It (Yourself)!
You’ve now learned that replacing a headlight bulb is an easy do-it-yourself project. We can offer advice on anything to do with your automobile from removing scratches and dents to the best types of wax to use. Check us out today.