For most people, cleaning their car is more punishment than pleasure. It’s something to do when there’s nothing else to do. Or you make the kids do it.
Or better yet, you pay somebody else to do it. Car washes and detailing shops took in over $13 billion last year, which means a lot of people are paying for a lot of washing and waxing, but it’s not you.
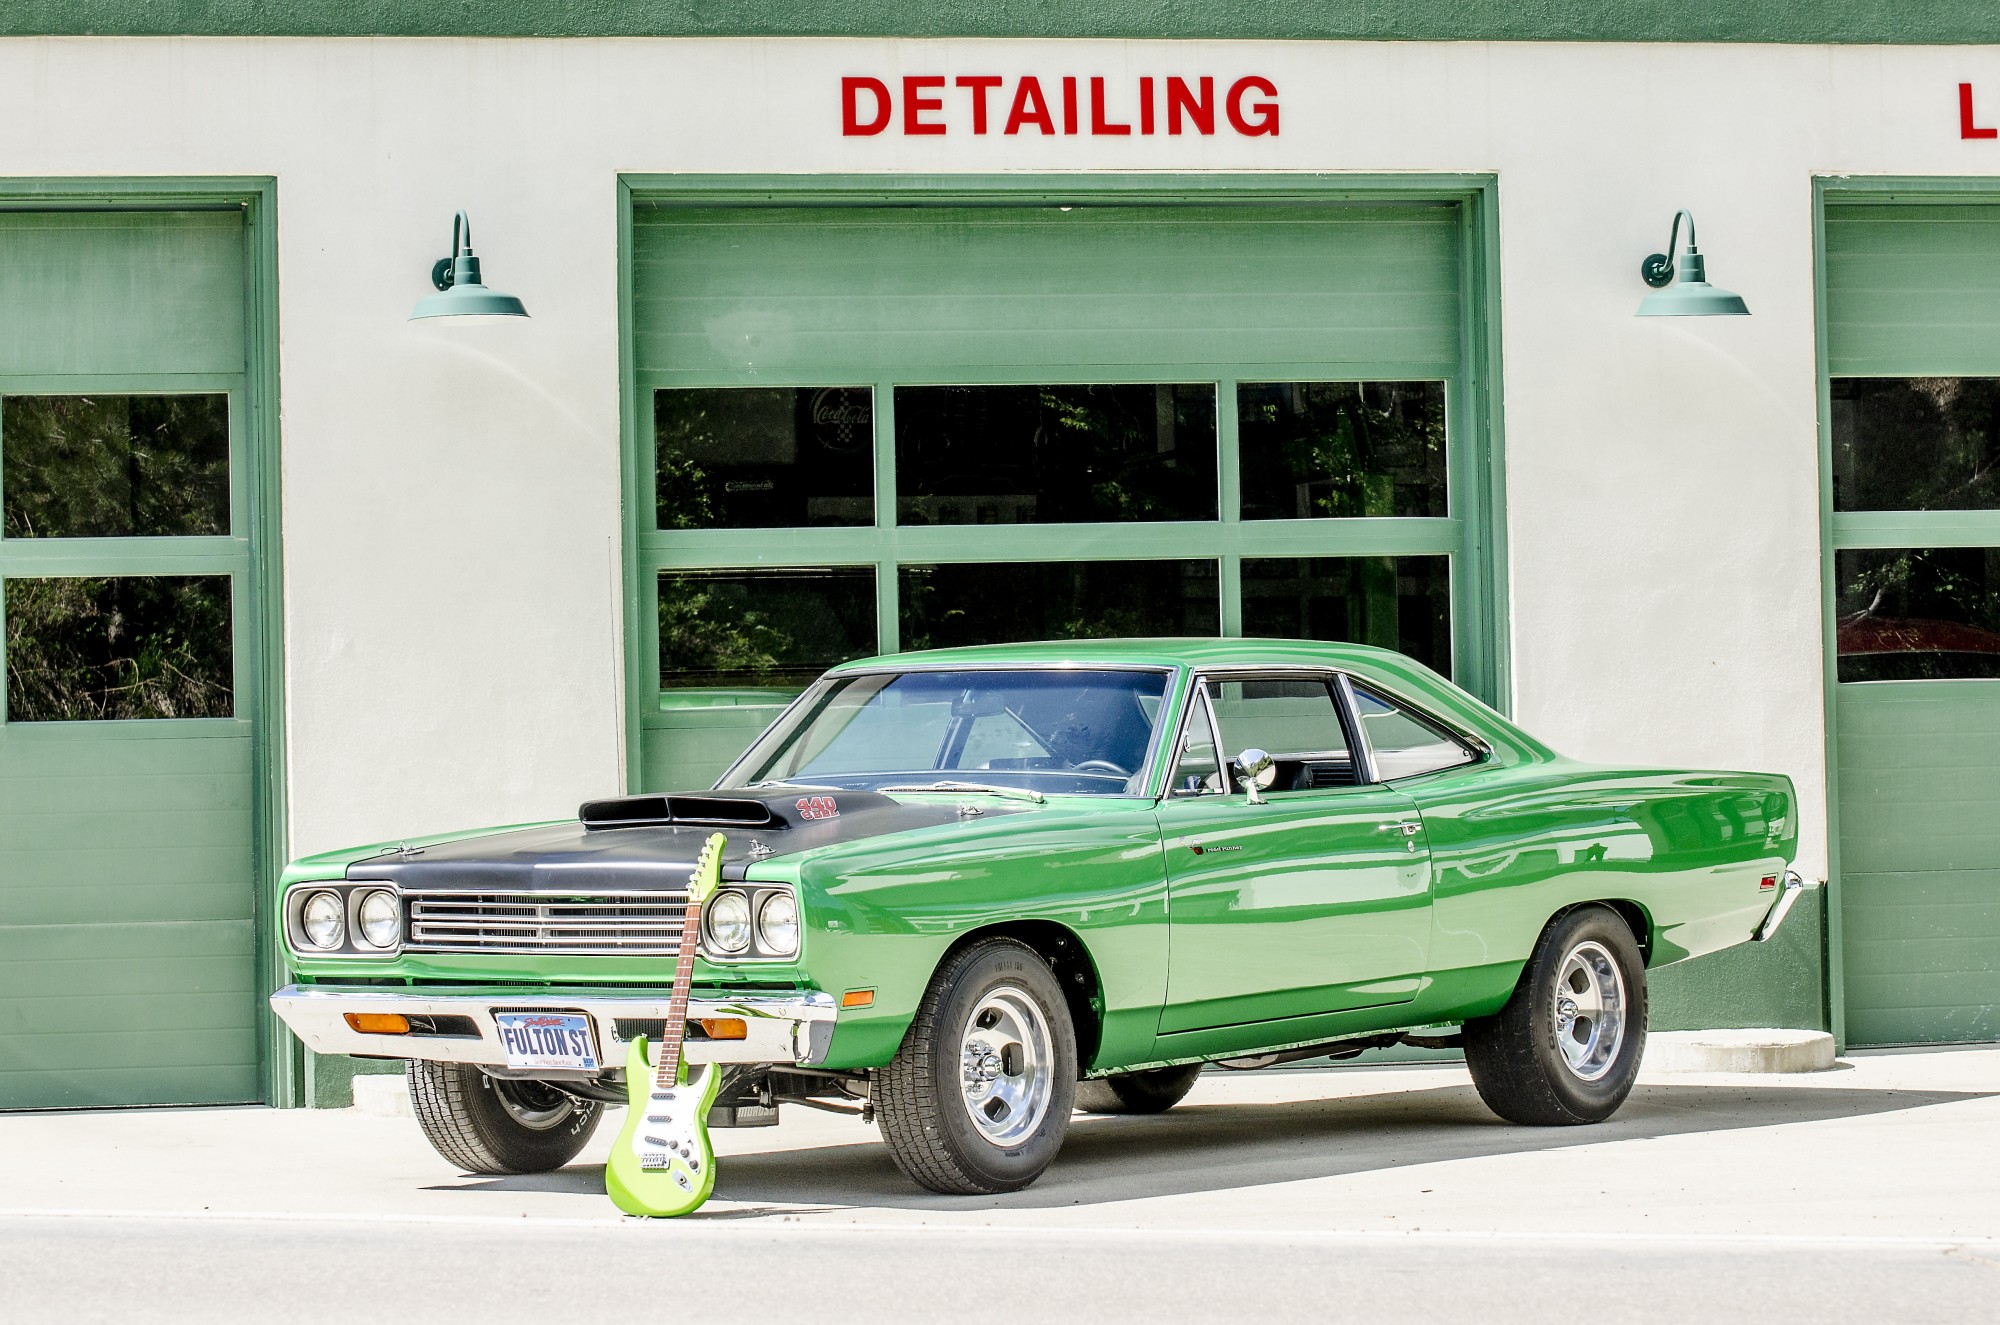
That’s because your ’60’s vintage muscle car is your pride and joy, your baby. And you are going to keep it clean and shiny, so it’s always ready for the next car show.
So what’s the best way to detail a car, top to bottom, inside and out? Let’s take a look at ten car detailing steps the pros say will give your car that showroom look.
1. Start At The Bottom
That’s right, car detailing starts by cleaning the wheels and tires first. Why? There’s more gunk and dirt down there, so you want to get rid of that first.
Doing the wheels and tires after you do the car is a great way to overspray some of that dirt back on your nice clean body.
After spraying on a tire and wheel cleaner, let it sit for the recommended time. Hose it off. Now scrub the tires and wheels in a circular motion. Rinse again and dry off the wheels.
If your wheels need some added attention, there are plenty of products that are great at removing minor pitting or discoloration on metal.
2. Now Top To Bottom
Grab your shampoo, wash mitt, and microfiber towels and fill up two buckets, one for cleaning and one for rinsing. Now, working from top to bottom, hose off a section (and don’t waste a ton of water by letting the hose run.).
After washing and rinsing, move on to the next section. Be sure to keep using the towels to dry as you go. That keeps water spots from forming.
Now that you are all done, it’s window time. Clean the windows inside and out using a non-ammonia-based cleaner – tinted windows don’t like ammonia.
3. Clay Time
Using a clay bar or mitt and enough clay lubricant, so the clay slides easily, go over the entire exterior. The clay pickups any microscopic dirt and contaminants left behind after washing.
If the clay gets too dirty as you are going along, switch to a new piece. Once you’re all done and the surface feels like glass, wipe it down with a clean microfiber.
4. Polish Those Scratches
If the paint has scratches or swirl marks – this is your baby, so it probably doesn’t – now’s the time to buff them out.
Using the least abrasive polish that gets the job done, apply the polish to a small area by hand. If you want the exercise, buff it out by hand. If you’re feeling lazier, use a dual-action buffer very carefully and begin buffing out the defects.
5. Wax
Natural carnauba wax or one of the synthetics? Lots of great waxes are out there, and each one will give you a slightly different look. As a general rule, the better the wax, the higher the cost.
Working section by section, apply the wax using a clean pad and then buff it out by hand. The more you buff, the better the final look will be.
Please don’t make the mistake of waxing your car when it’s windy or in direct sunlight. Wind brings dirt, and sunlight dries out the wax too quickly. Knowing when to detail is a big part of getting great results.
6. Back To The Tires
Now that you’ve finished cleaning and waxing the car, go back to the tires and apply tire shine. Letting the tire shine thoroughly dry before moving the car keeps it from spraying on the paint.
7. Inside Job
There’s no simple click for car interior detailing, but following these steps will get you the pro look your car deserves.
Detailing the interior starts with vacuuming. Powerful suction and a variety of nozzles make the job a lot easier. Take out all of the carpets and deal with them outside.
After going to town with the vacuum, there’s one last step for a truly professional job – steaming.
Steaming the interior loosens dirt and grime a vacuum alone can’t get. As you steam an area, a soft bristle brush lets you get into any crevices that still need some work.
8. Take A Seat
The steamer you are using will also do a great job on your seats. Leather, suede, vinyl, and fabric all respond well to steaming.
If you still have some stubborn stains – let’s say you took the kids to McDonald’s – use a cleaner specifically formulated for that material and follow the directions carefully.
9. Vinyl Love
Cars’ vinyl surfaces need to be cleaned and protected. Steering wheels, consoles, dashboards, door panels, armrests, and visors are constantly being contaminated by grease and dirt from our hands.
There are one-step cleaner protectants on the market that work well but for built-in grime, using a good vinyl cleaner first is a good idea.
Once the vinyl is completely clean, following up with a protectant is the way to go. Not only is the protectant adding a layer of shine, but it’s cutting down on potential UV damage, which degrades the vinyl over time.
10. The Sweet Smell Of Success
You’re almost there. Using the steam cleaner again, thoroughly steam and clean the air vents and heater outlets just like a car detailing service will.
By getting rid of the bacteria that love living in those nice warm spaces, you’ll keep your baby smelling sweet.
One Happy Vintage Muscle Car
For some people, detailing their vintage muscle car might be a tedious, dreaded chore or a way to work out their Obsessive Compulsive Disorder tendencies.
For you, it’s all part of keeping your pride and joy clean, shiny, and smelling like new. Ten steps and a little time and attention to detail, and you and your car will be ready for the next show!
For more informative and entertaining reading, check out the rest of the site!